remember when i started this project? yeah..its been so long that even i ALMOST don't remember.
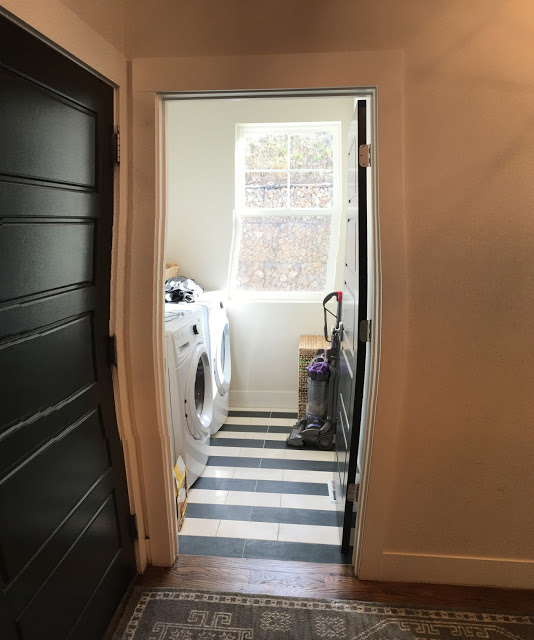
so, just to refresh our memories, here is the laundry and mudroom in my house.
small, but full of potential.

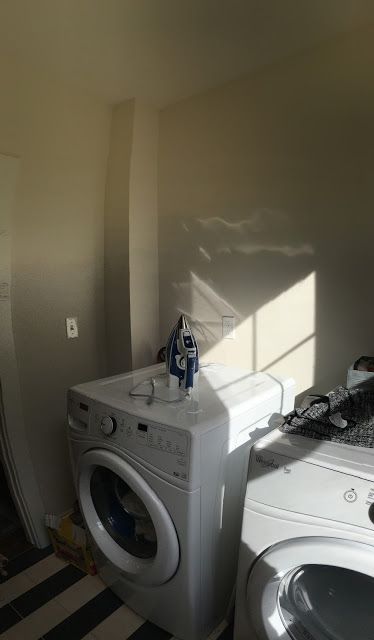
before:
no cabinets. no storage. no counter. just a lonely washer and dryer and a pretty cute striped floor.
another kooky panoramic view, standing in the laundry room:
from the garage entry, looking into the mudroom area:

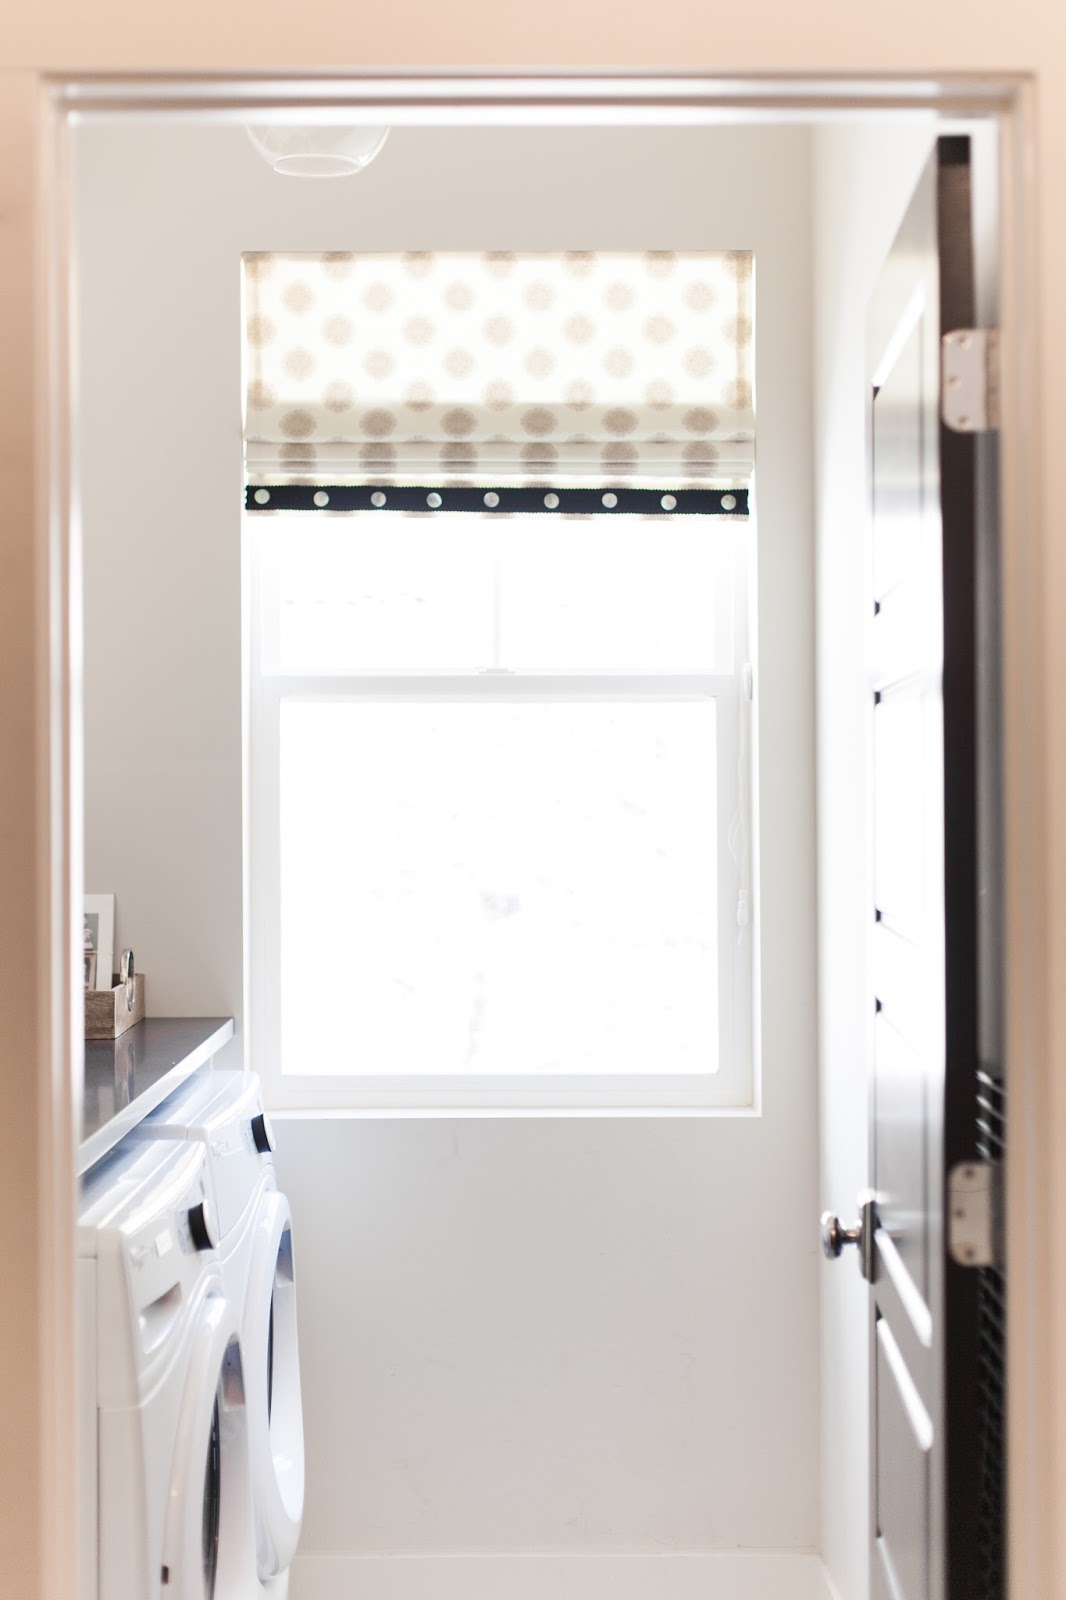
AND>>>>an update...these spaces are still not done.
however, a lot of progress has been made.

the paneling up in the hallway. it still needs to be caulked and painted, and we need to install thicker baseboards to macth the thickness of the paneling. (long story---the carpenters put in paneling that was triple the thickness that we asked for, even thicker than our baseboards!! ugh. so now, we need to replace the baseboards with material that is the same crazy thickness)
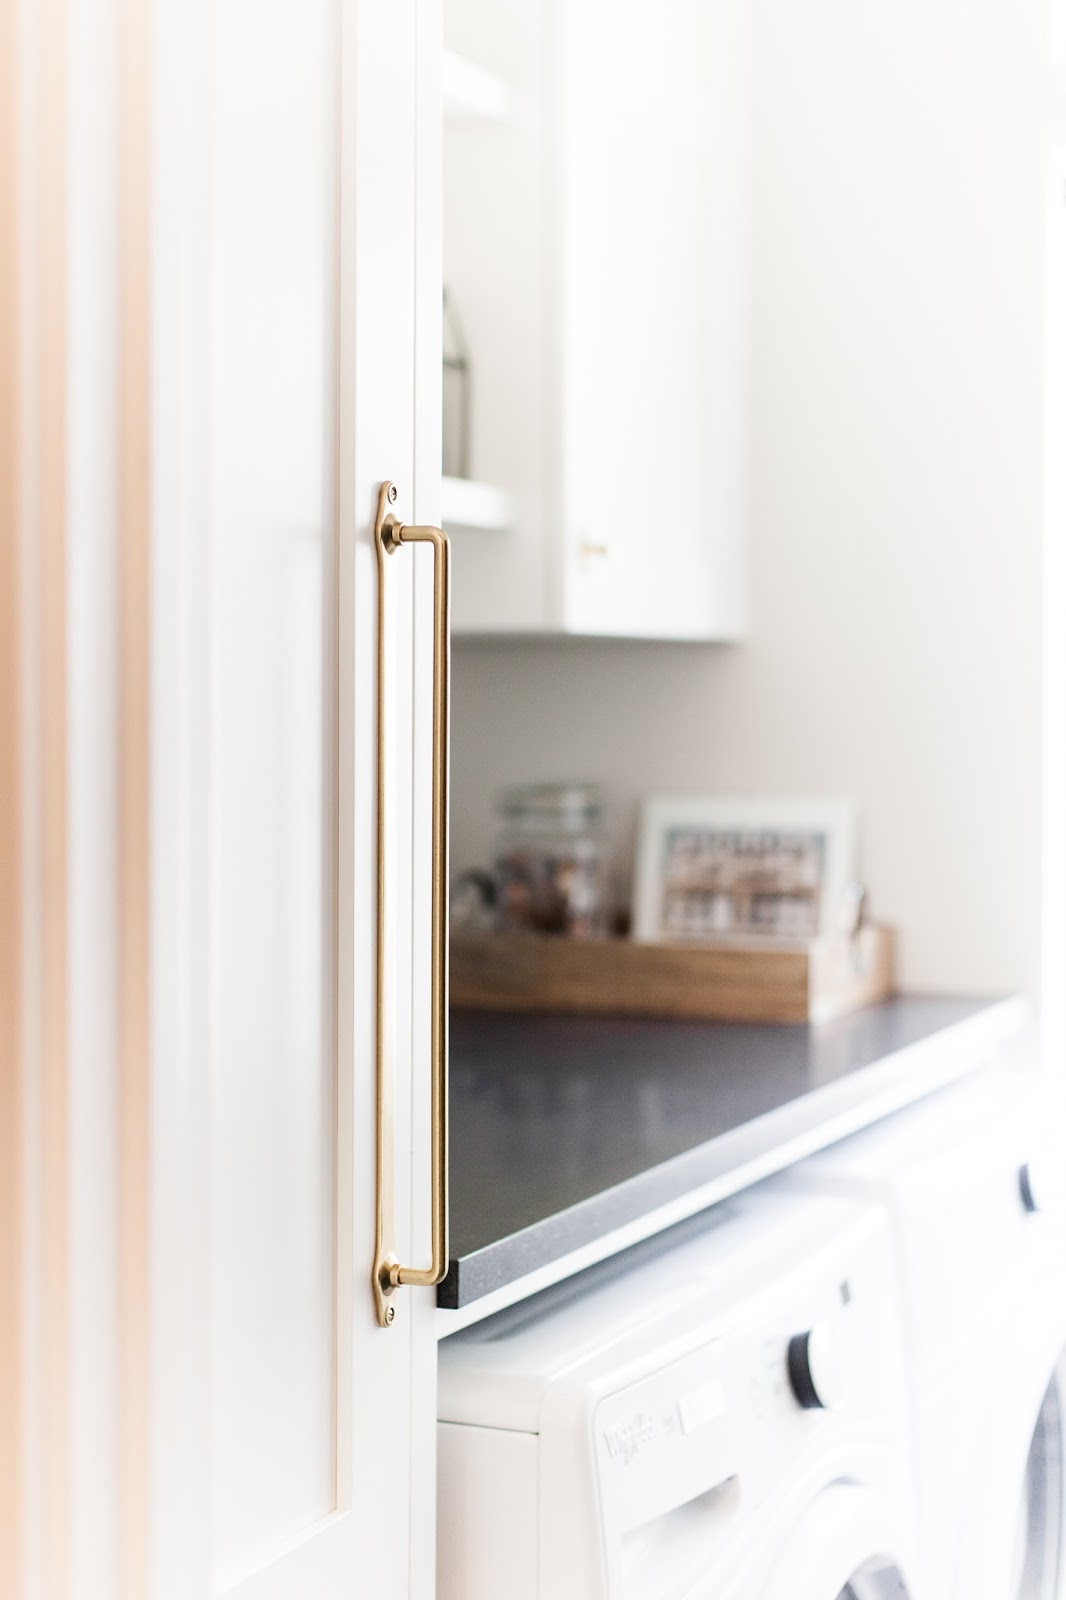
the laundry room is well on its way to being done!
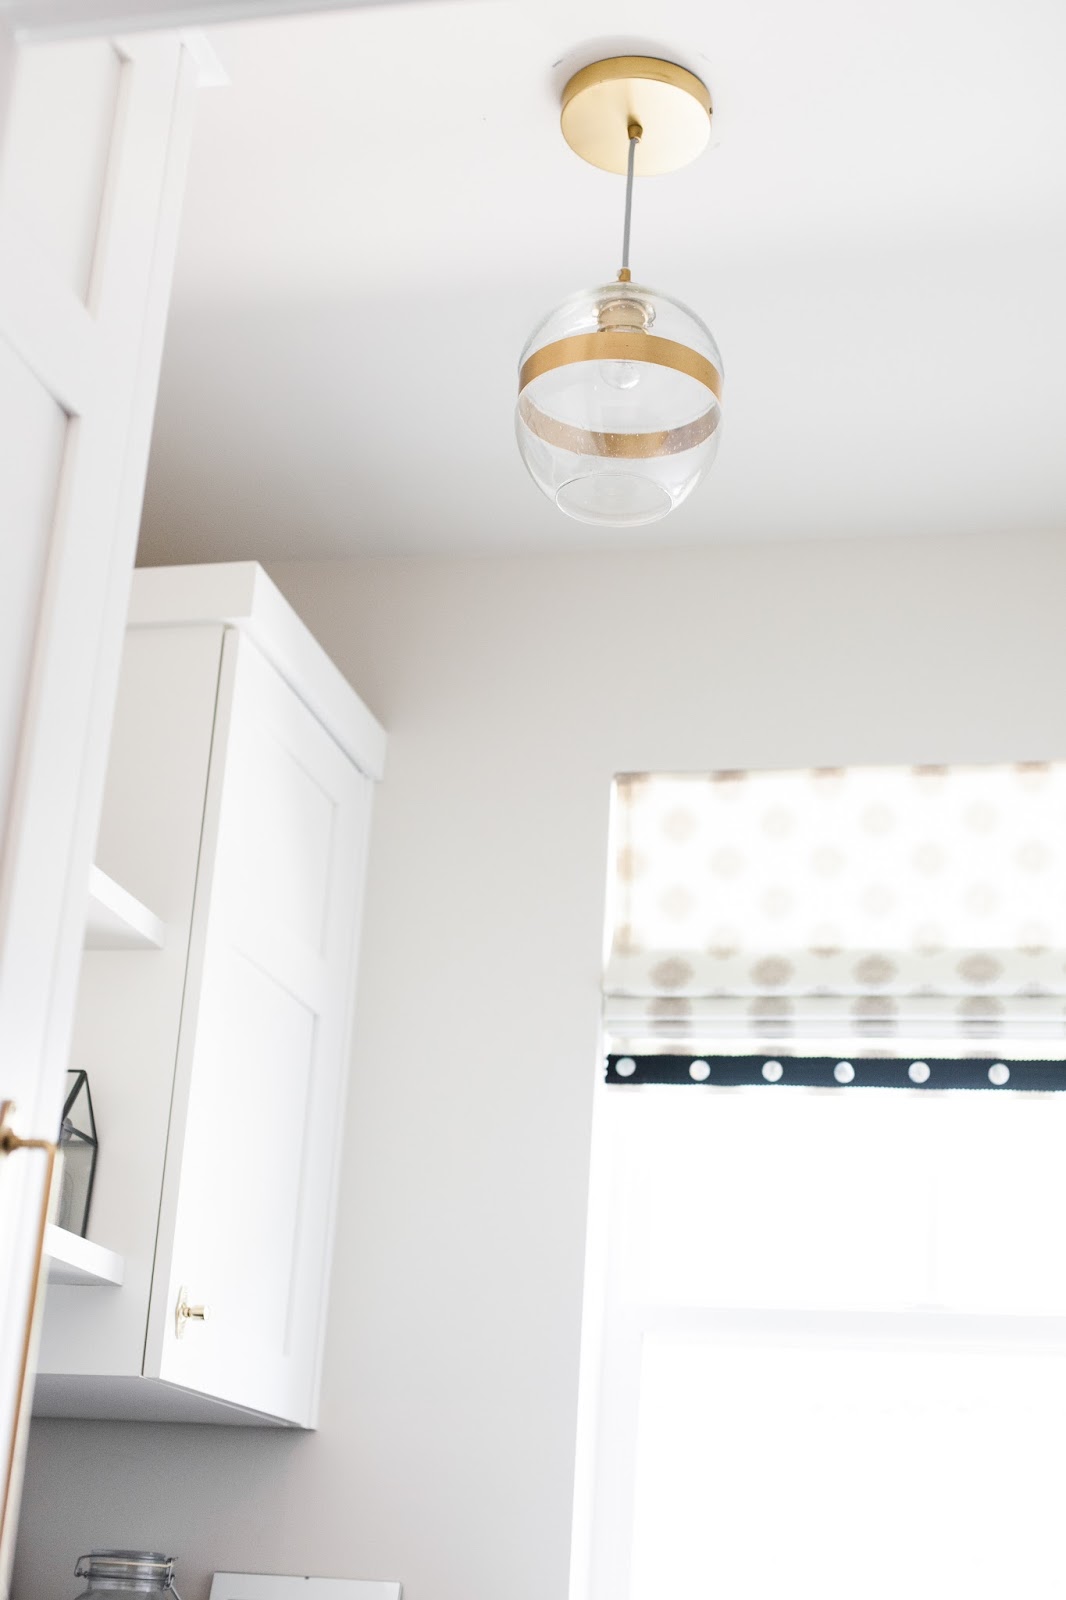
i installed the window shade, the cabinets and counter are in, and a new light was installed.

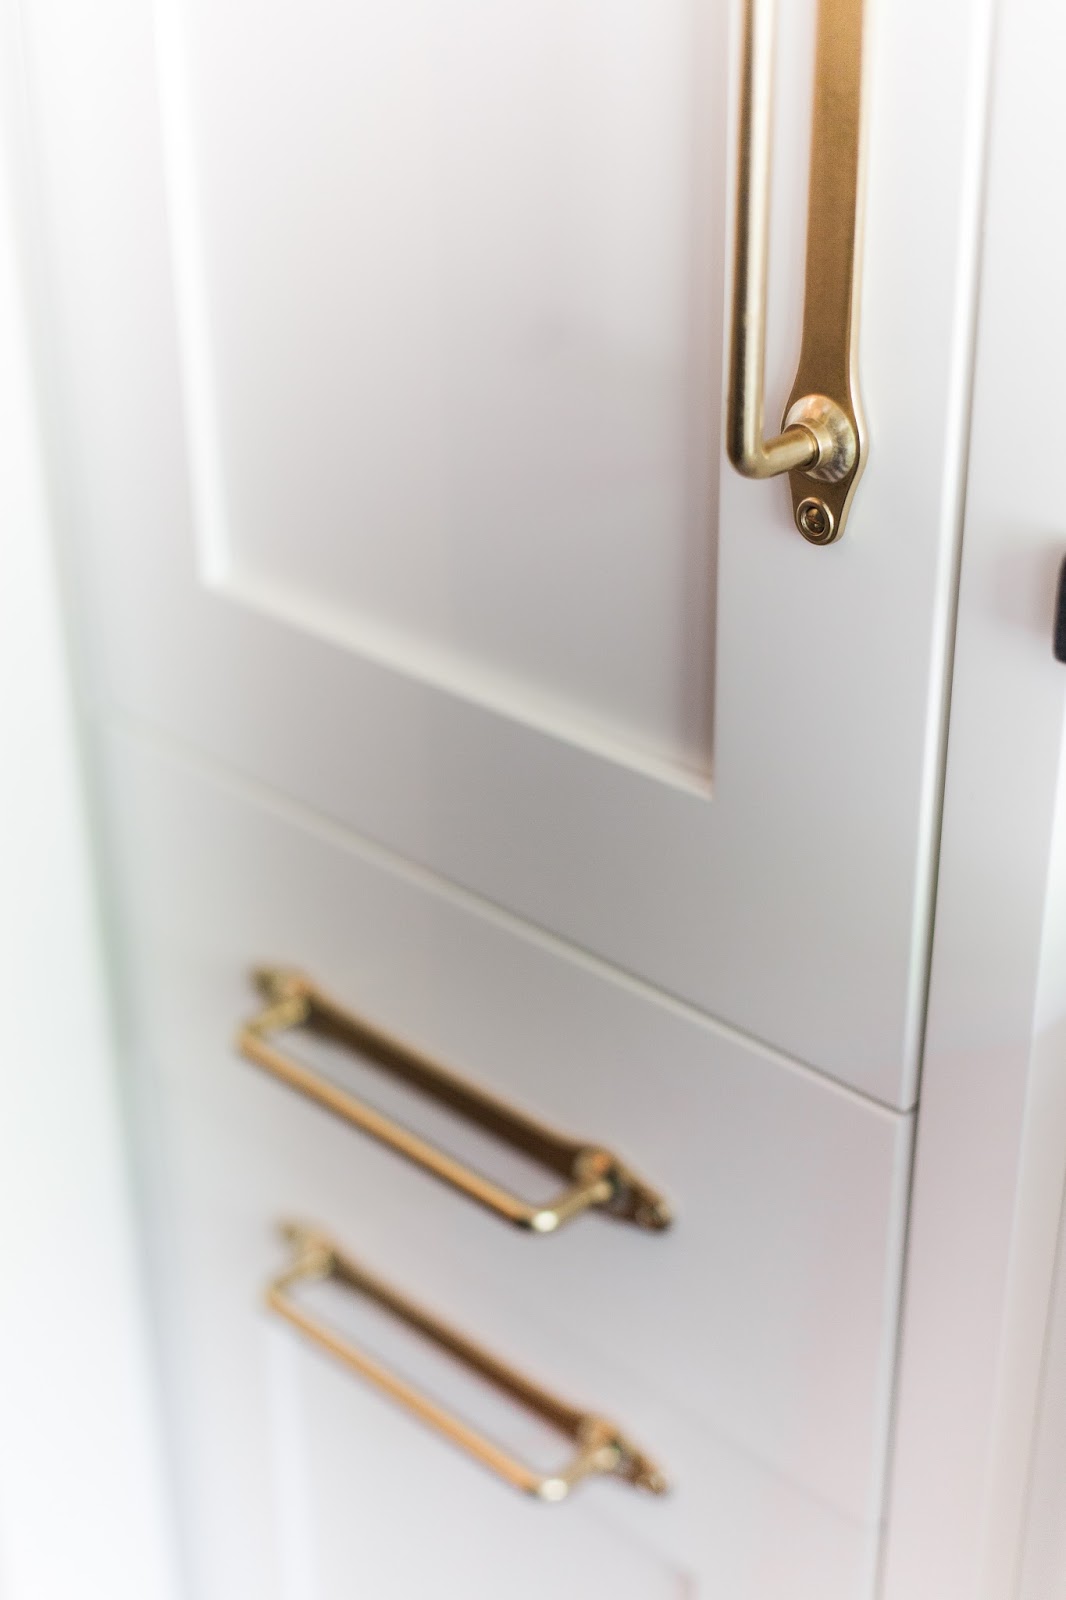
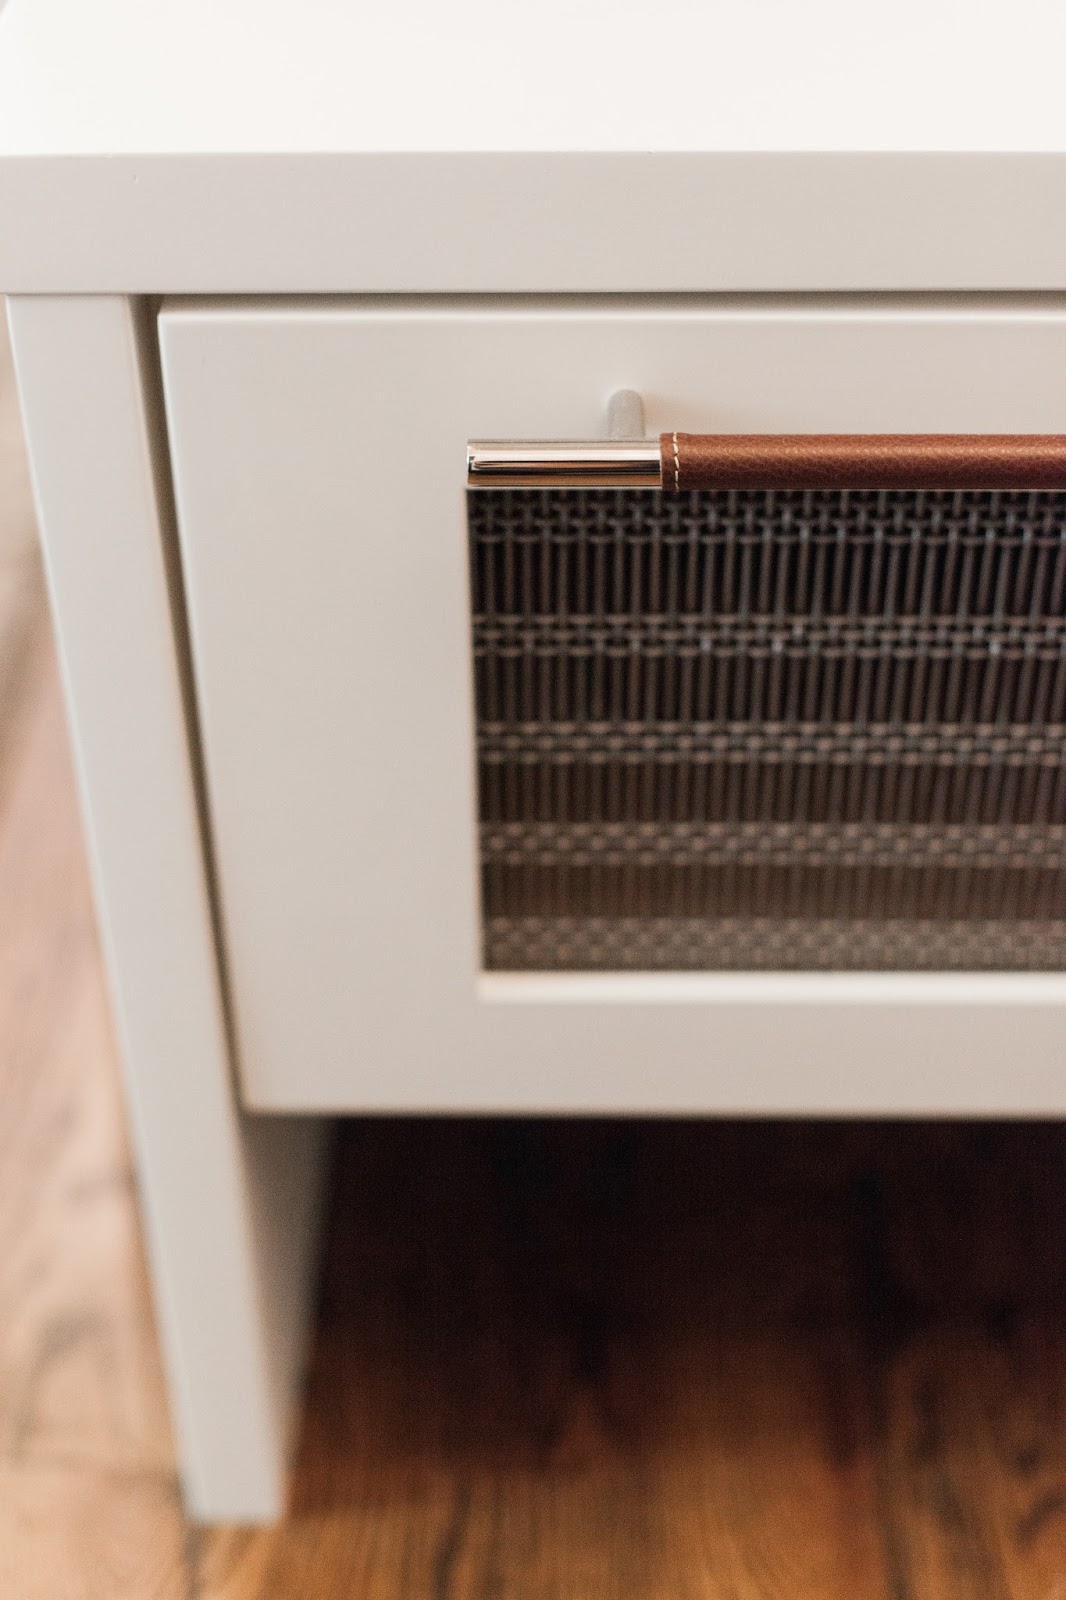
oh...and the hardware for this room is fantastic! i LOVE it, and get giddy whenever i open a cabinet.
(i used the tolson hardware from rejuvenation)


isn't it yummy?

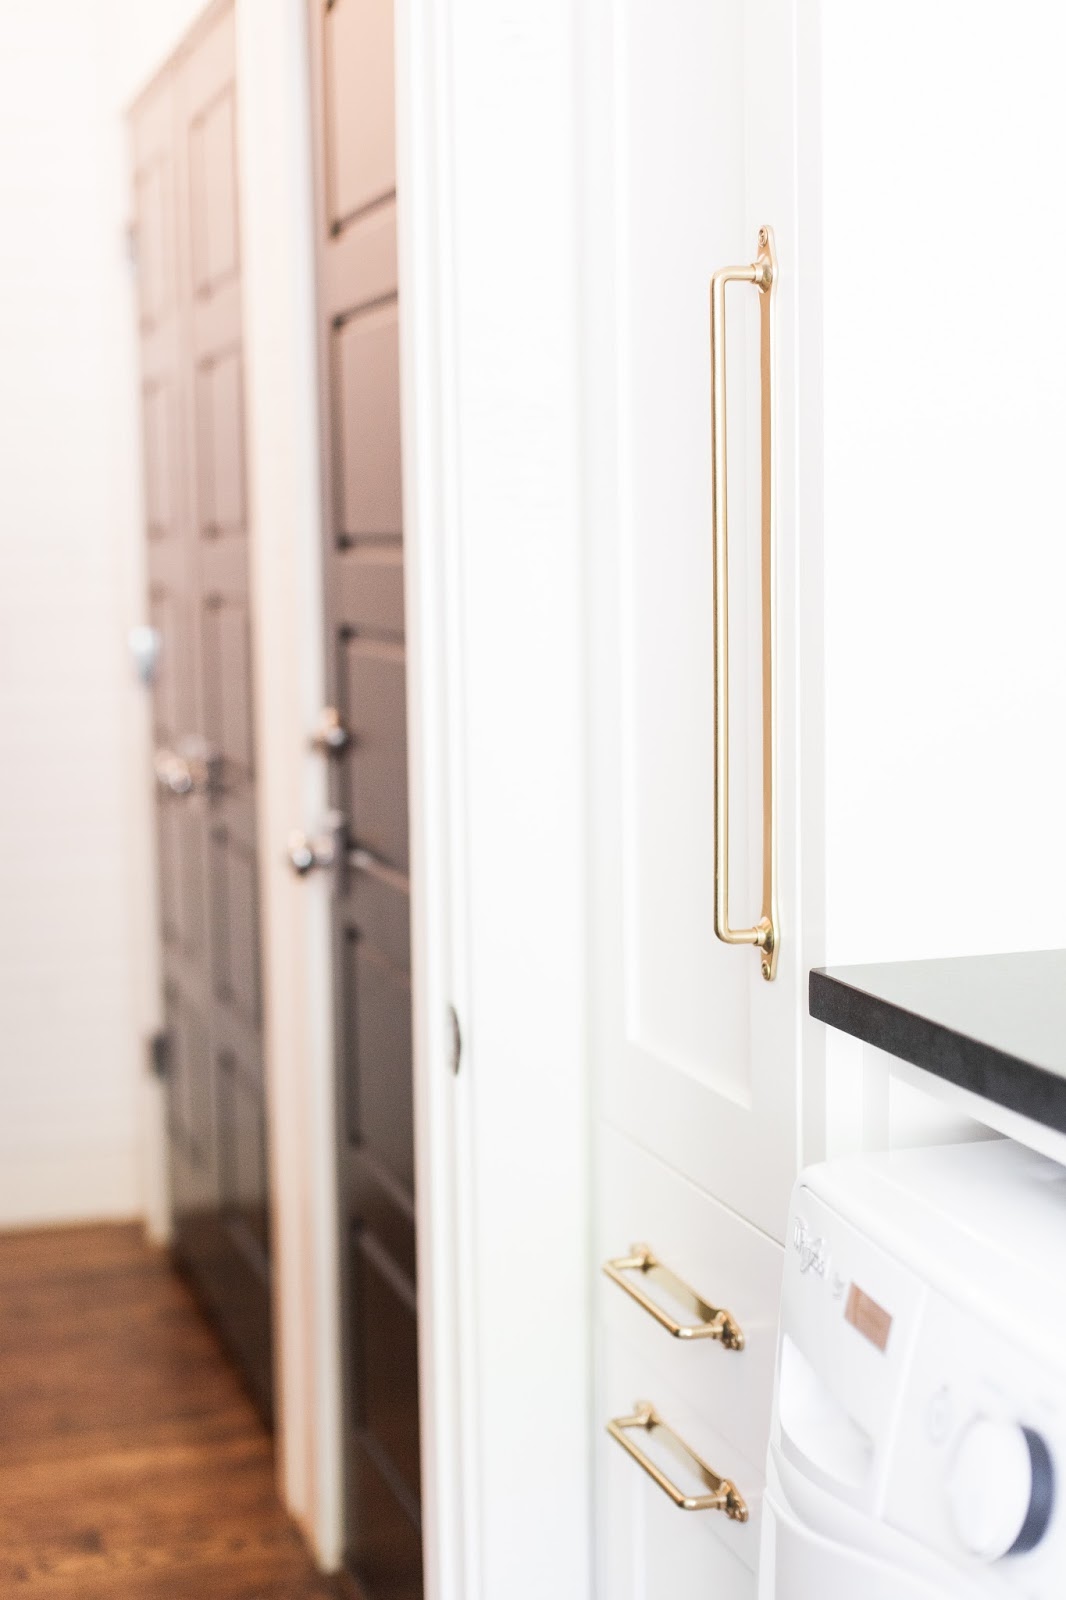
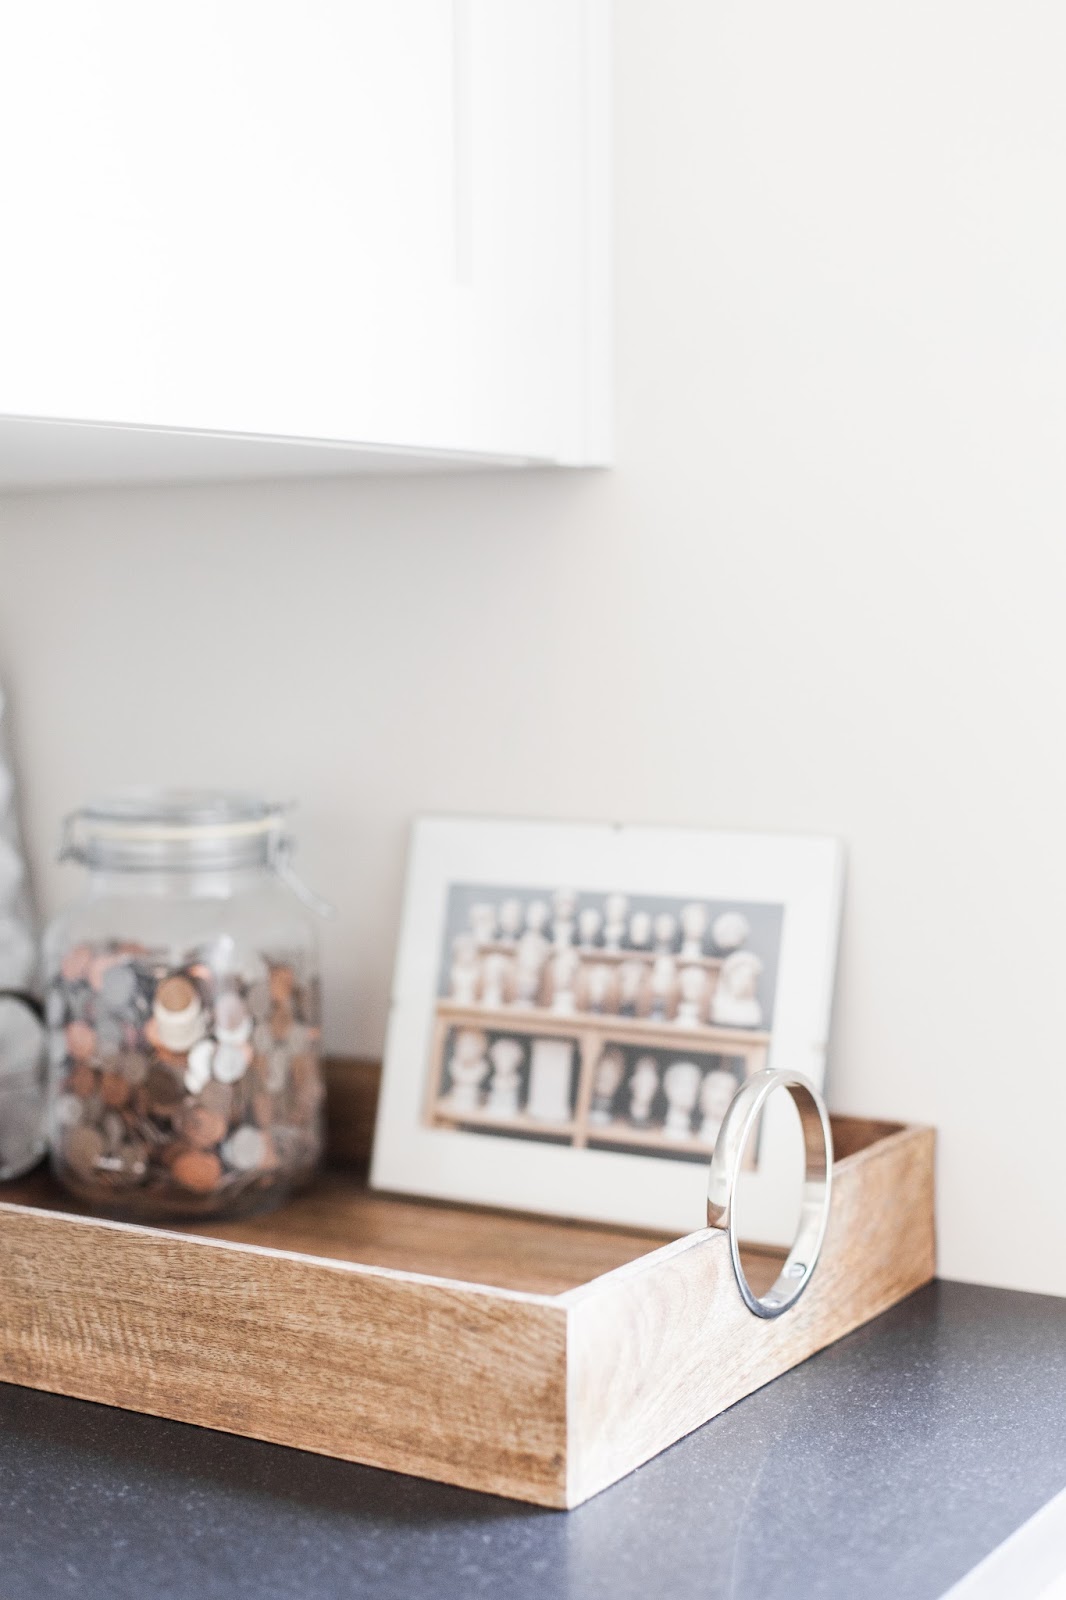
the counters are a honed black granite.
the light is from west elm.

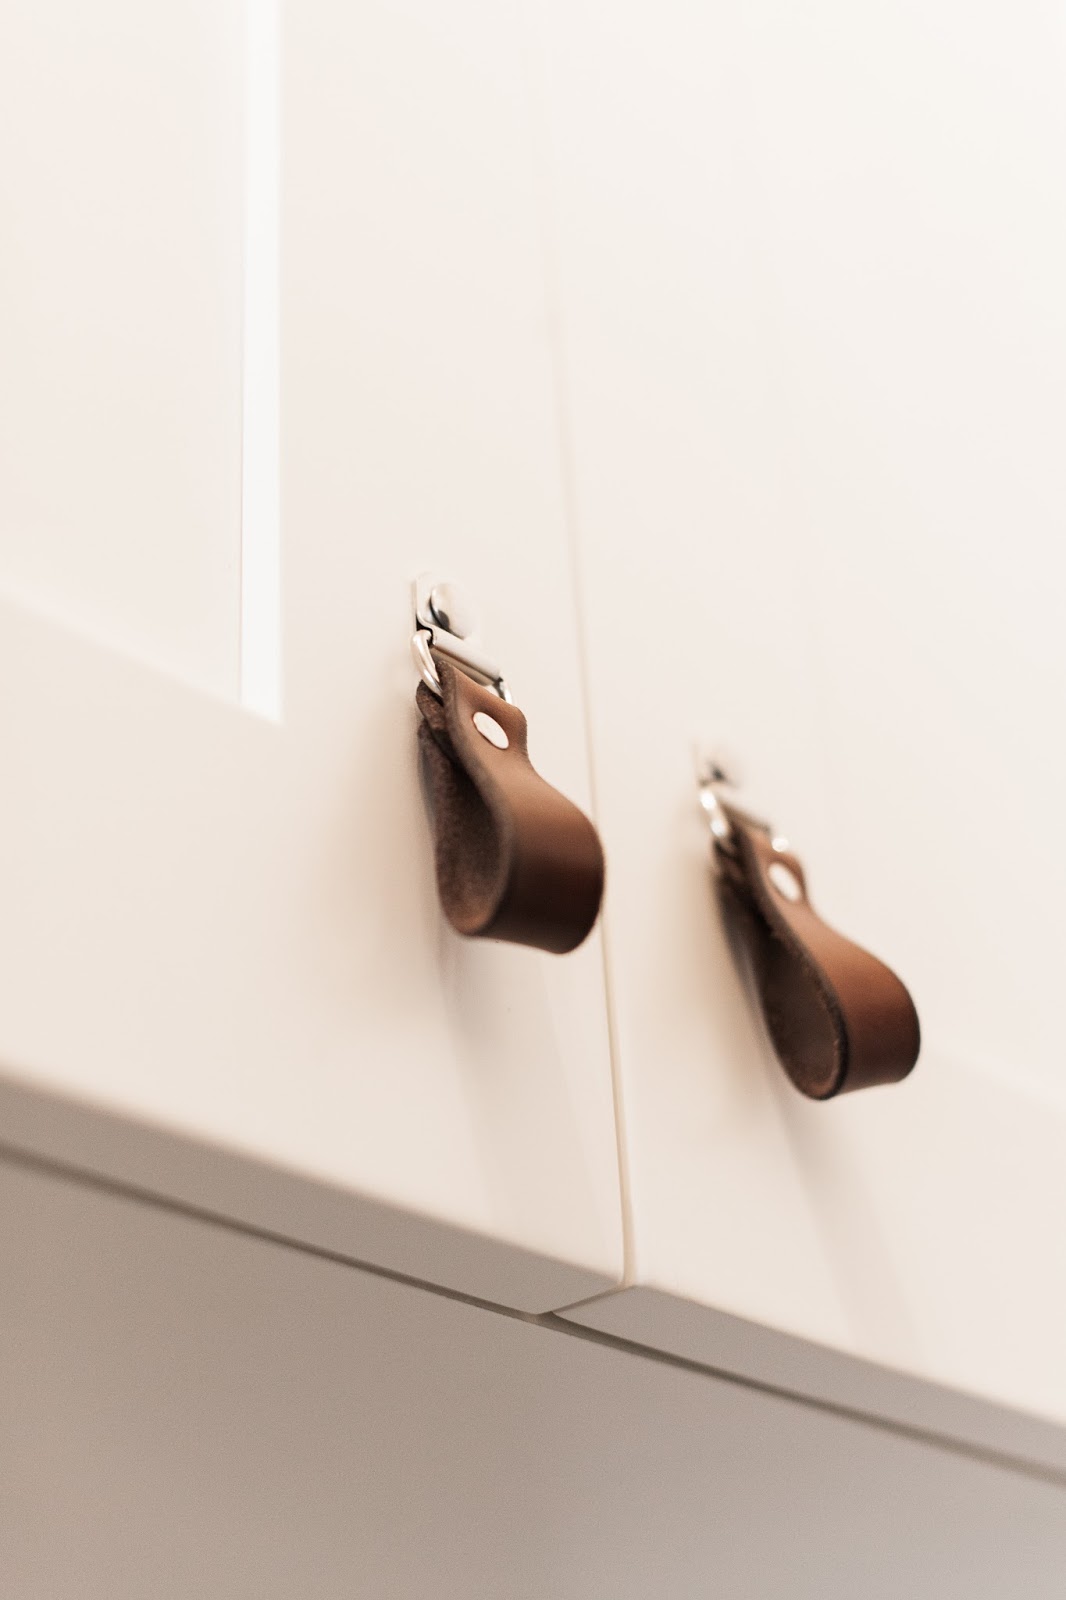
the mudroom cabinets are in...after being made WRONG twice.
the storage here has transformed my life! i love it!

the drawer fronts are a metal mesh, and the long leather wrapped hardware is a nice textural addition.
all the paneling needs to be caulked, sanded and painted.
after that happens, i can install the wallpaper on the ceiling and install the new lights.


i will also get some glass transoms made, which will add even more character to this tiny space.

SO, there you have it!
a little peek at the progress of the laundry and mudroom. i am not sure when this space will be TOTALLY finished, but when it is, i will be thrilled to share it with you!